第 1 步
安裝應用程式 – 在 App Store 中搜索“Red Bull MOBILE Data”

或掃描二維碼

或前往: https://apps.apple.com/us/app/red- bull-mobile-data/id1519985872
步驟 2
打開應用程式
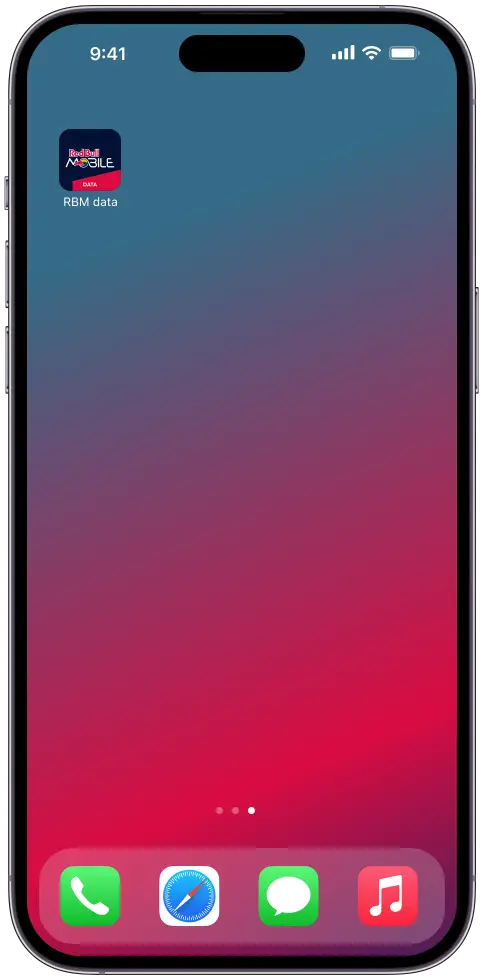
如果您看到 「Oh No!螢幕,請將您的 IMEI 發送給您的計畫供應商的客戶支持團隊,並請求解鎖您的智慧型手機
否則,請繼續執行步驟 3

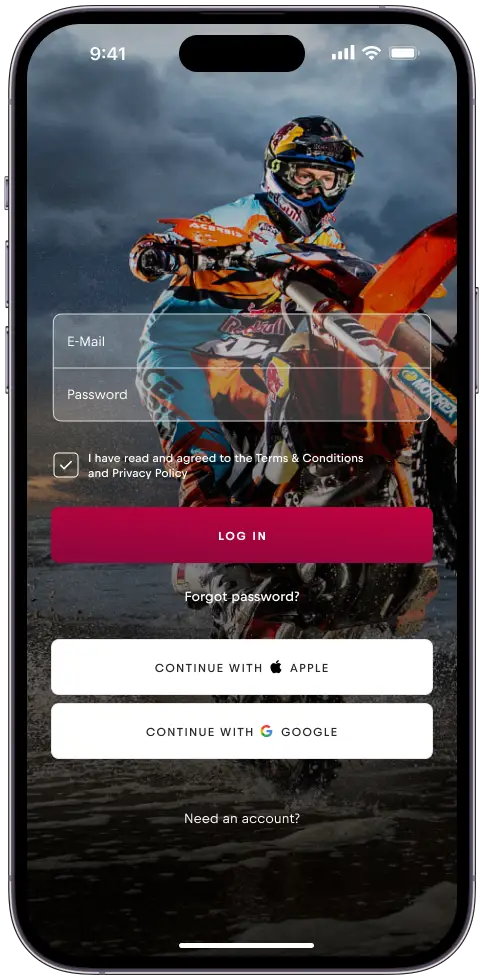
步驟 3
如果您想使用您的電子郵件註冊帳戶,請點擊“需要一個帳戶”
或
按“Continue with Apple/Google”進行快速登錄
步驟 4
輸入您的姓名、電子郵件和密碼
或
按“Continue with Apple/Google”進行快速登錄
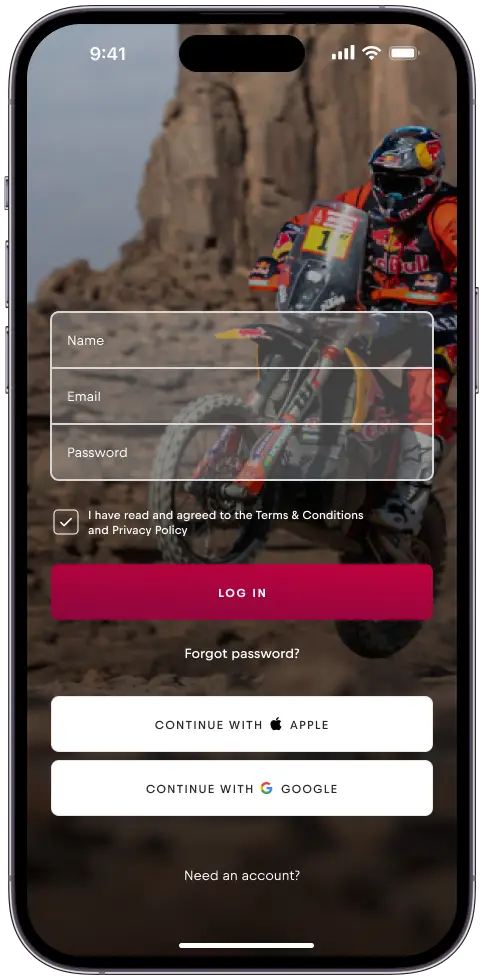
如果您使用了「Login with Apple/Google」,請繼續執行第 10 步;否則請繼續執行步驟 5。
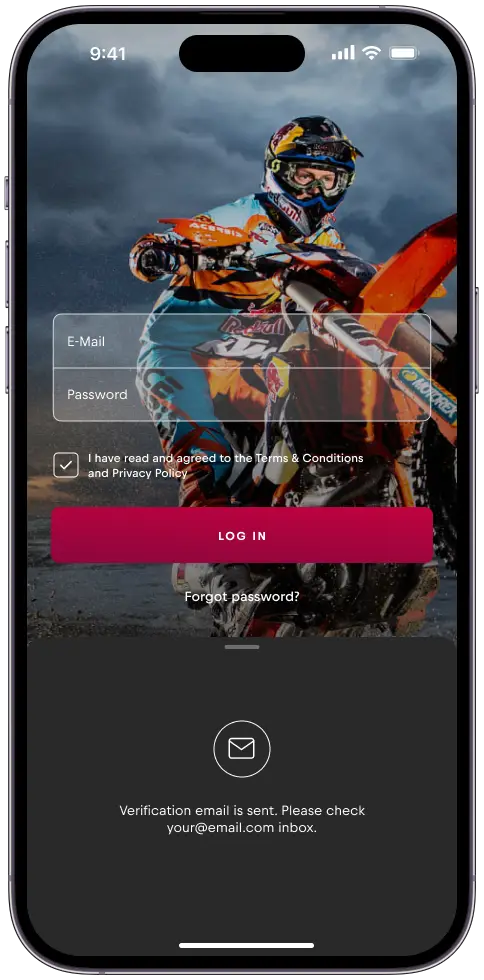
步驟 5
已發送驗證電子郵件。 檢查您的收件匣以驗證您的電子郵件。
步驟 6
按電子郵件中的「立即驗證」。
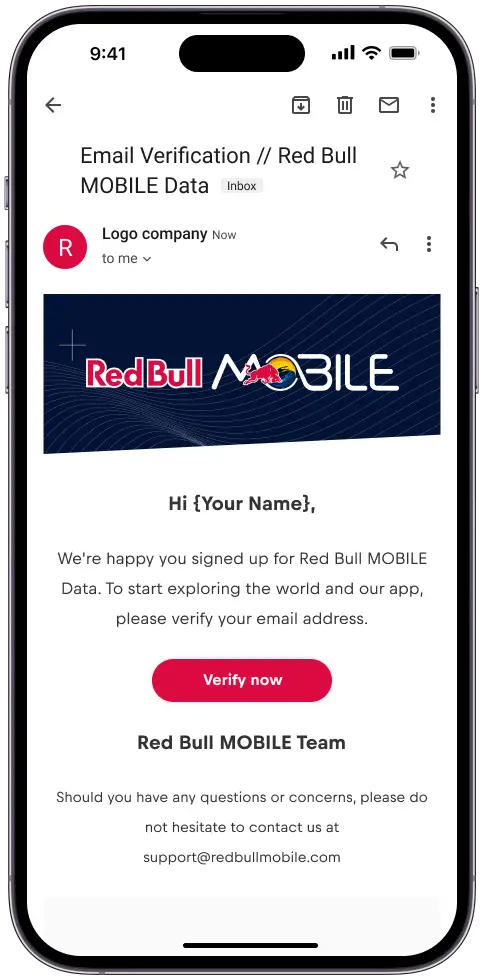
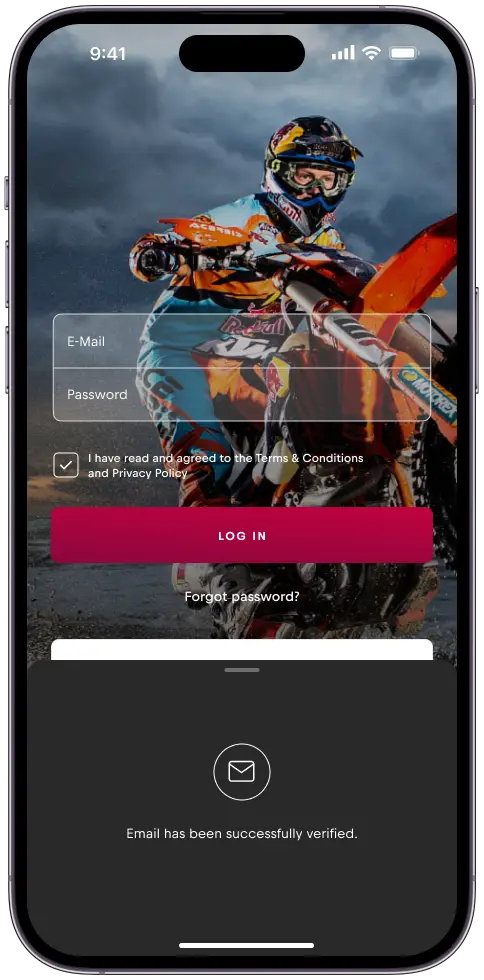
步驟 7
驗證電子郵件后,您將被重定向到登錄螢幕。
步驟 8
如果您想使用您的電子郵件註冊一個帳戶,請按“需要一個帳戶”
或
按“Continue with Apple/Google”快速登錄

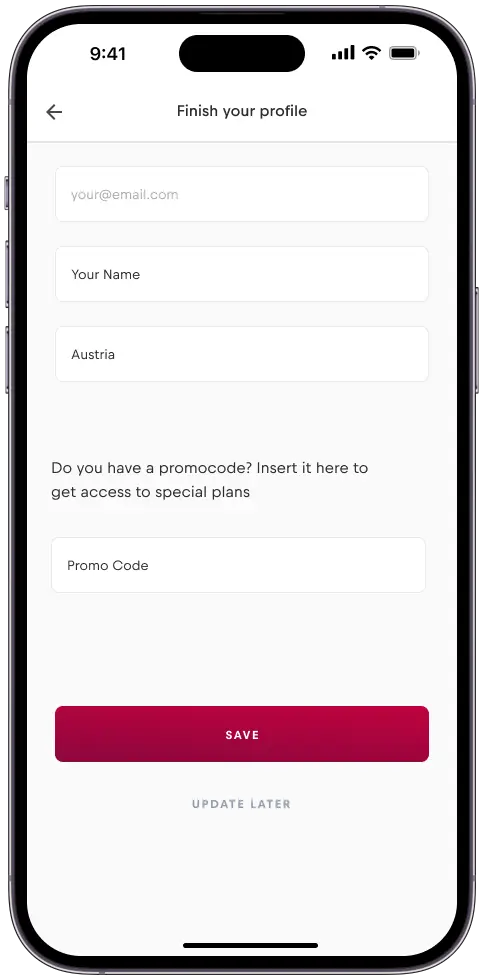
步驟 9
如果您有促銷代碼,請在首次登錄時輸入它。
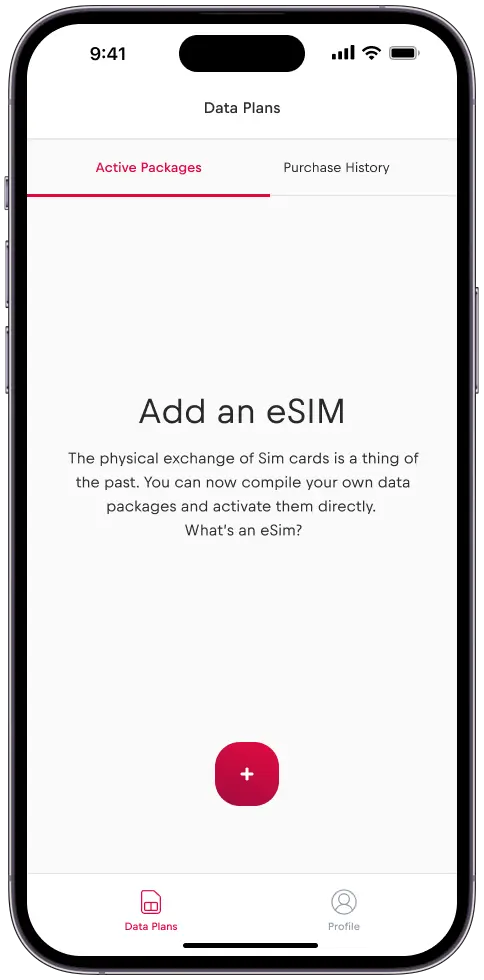
步驟 10
點擊“+”添加 eSIM
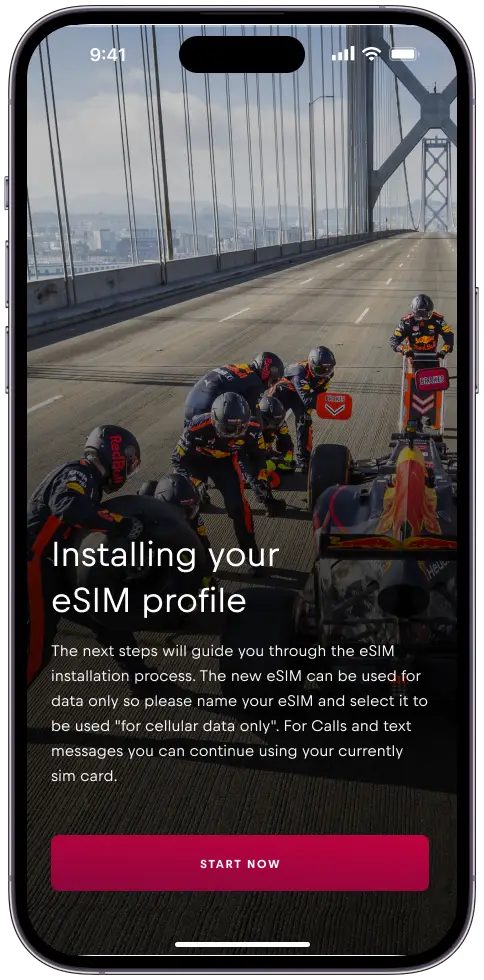
步驟 11
按「立即開始”
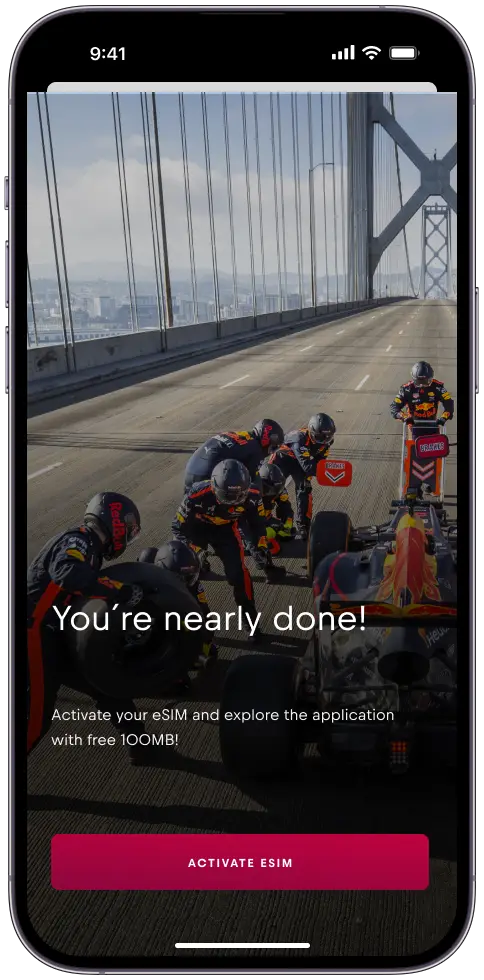
步驟 12
點擊「啟動 eSIM”
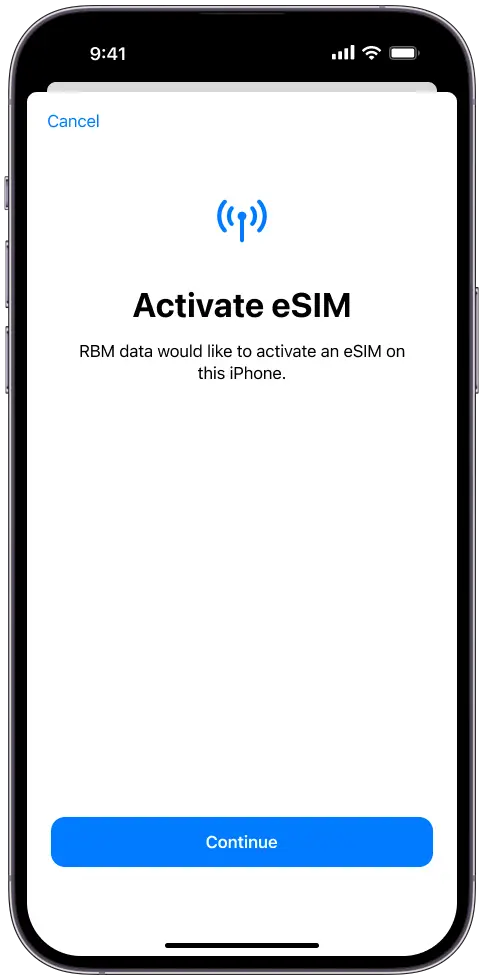
步驟 13
按“繼續”啟動 eSIM。
步驟 14
按兩下完成以完成設置。

步驟 15
按“繼續”
最小化下部螢幕以進入主螢幕。
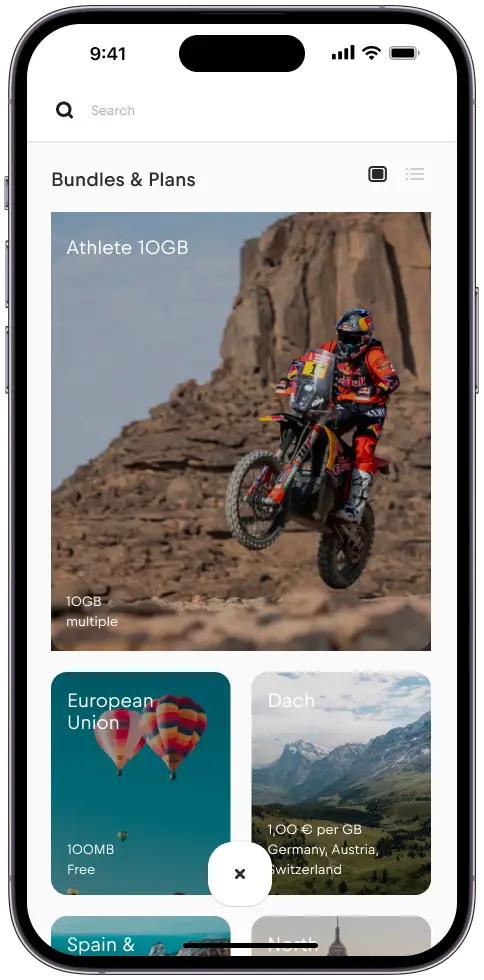
步驟 16
按“+”號添加新計劃。

步驟 17
選擇您的計劃
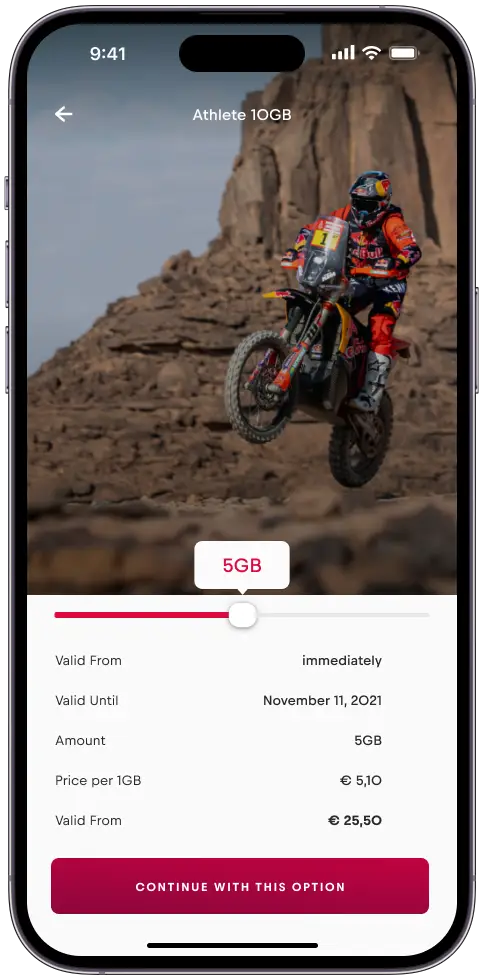
步驟 18
使用滑塊選擇您的數據計劃大小,然後按兩下“Continue with this option”(繼續此選項)。
步驟 19
按「立即啟動”
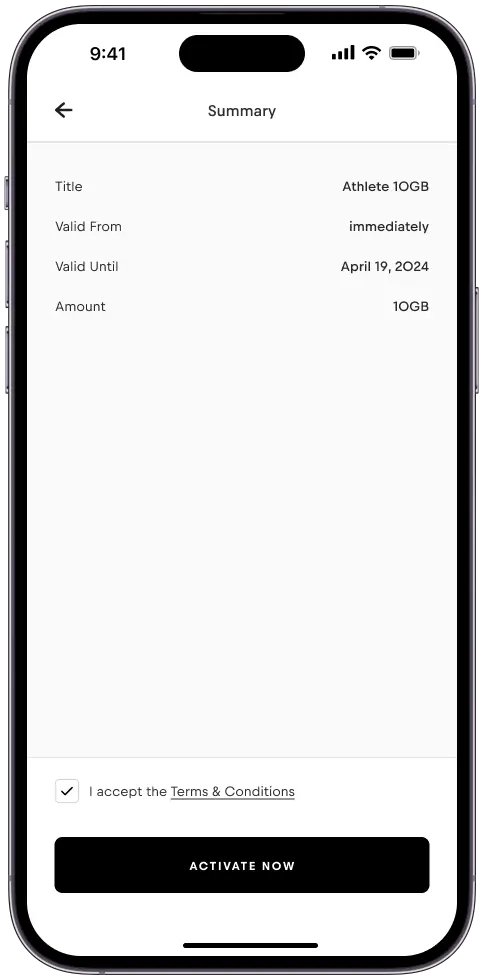
步驟 20
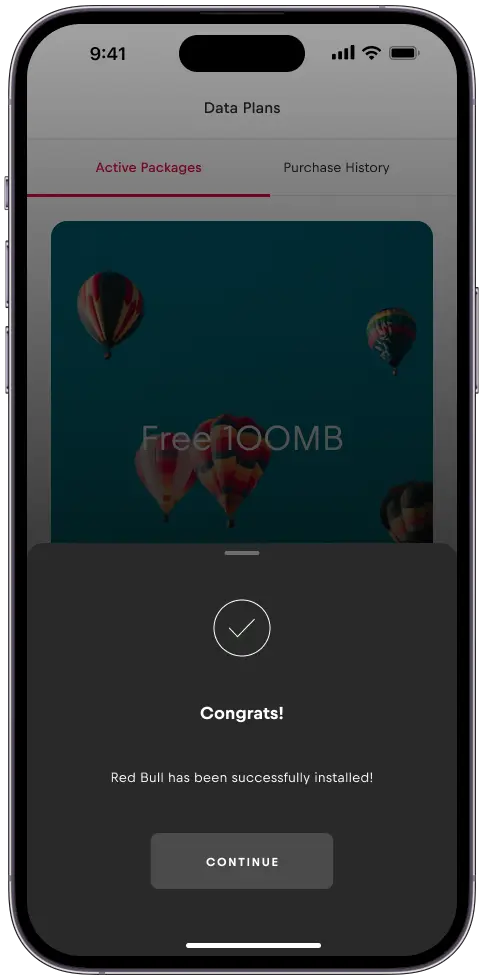
您的計劃已成功安裝。
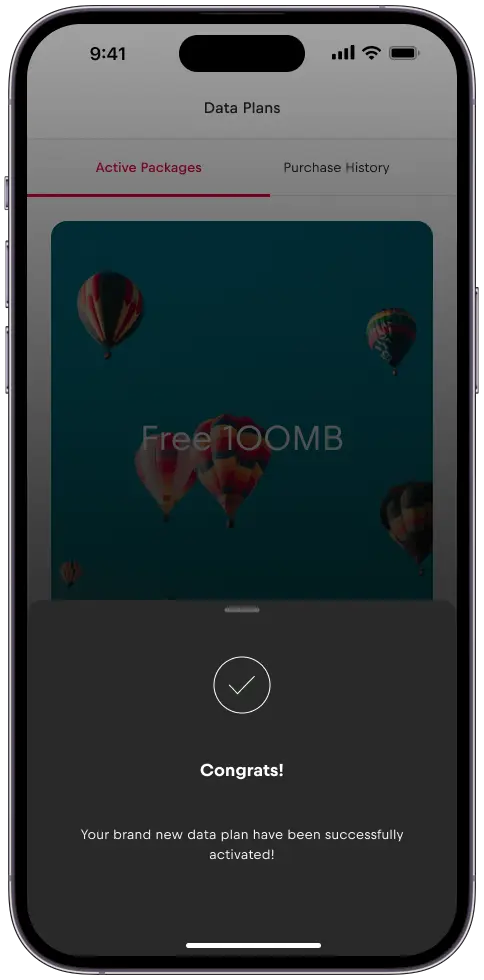
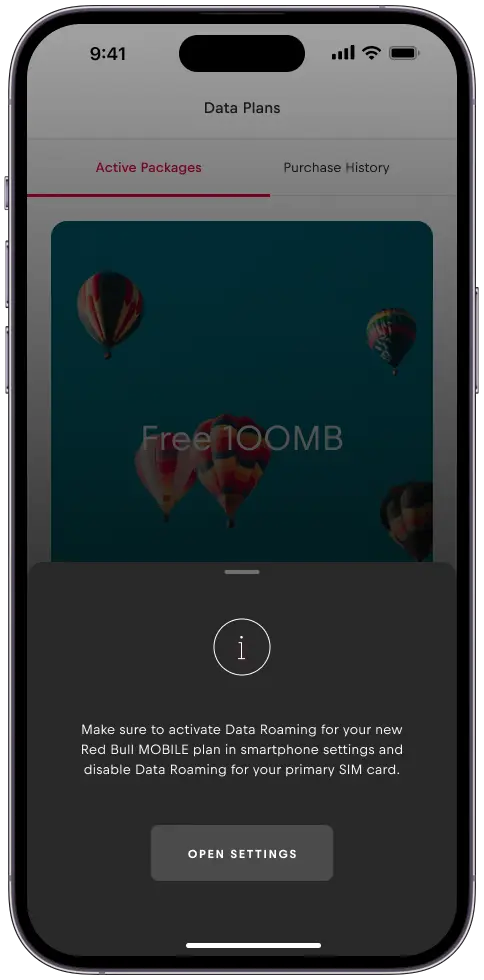
解題步驟 21
在 “Data Plans” 下,您將看到所有活動包。
您的設置現已完成。

