Step 1
Install the app – search for “Red Bull MOBILE Data” in the App Store

OR scan the QR code

OR Go to: https://apps.apple.com/us/app/red- bull-mobile-data/id1519985872
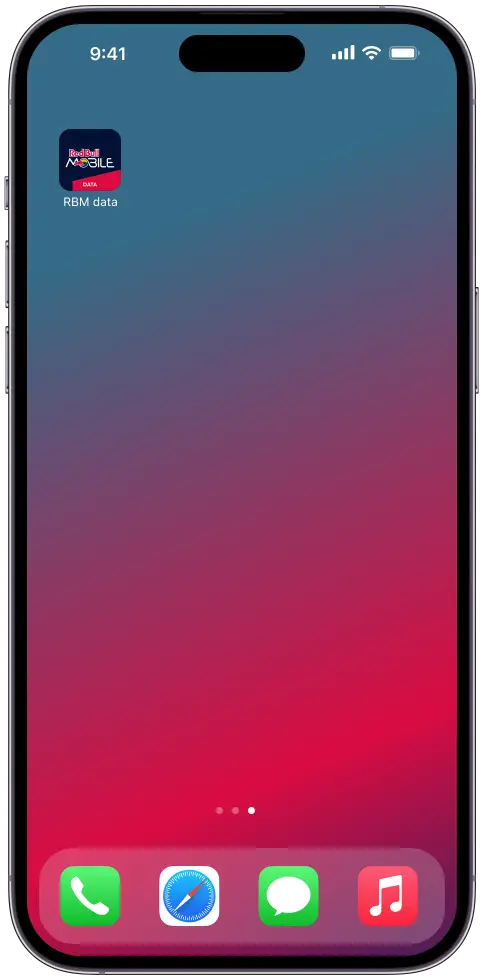
Step 2
Open the app
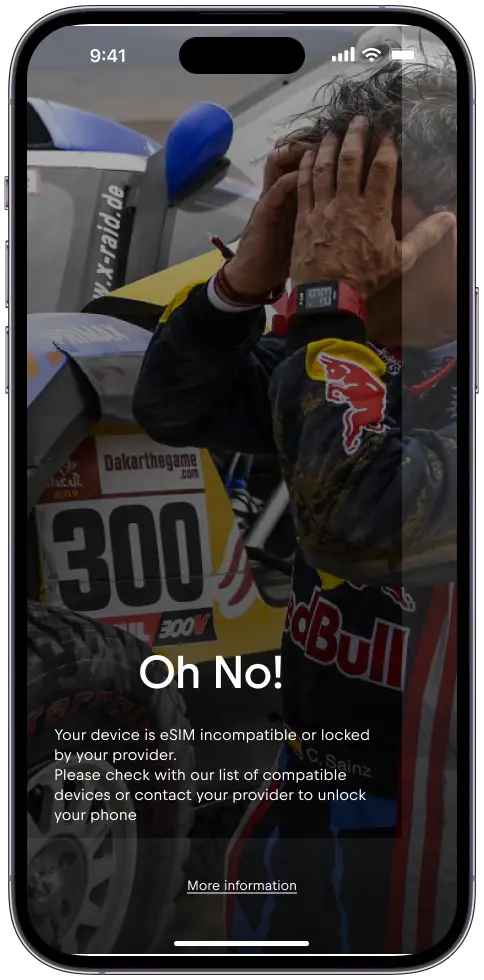
If you see the “Oh No!” screen, please send your IMEI to your customer support team of your plan provider and request to unlock your smartphone
Otherwise proceed to Step 3
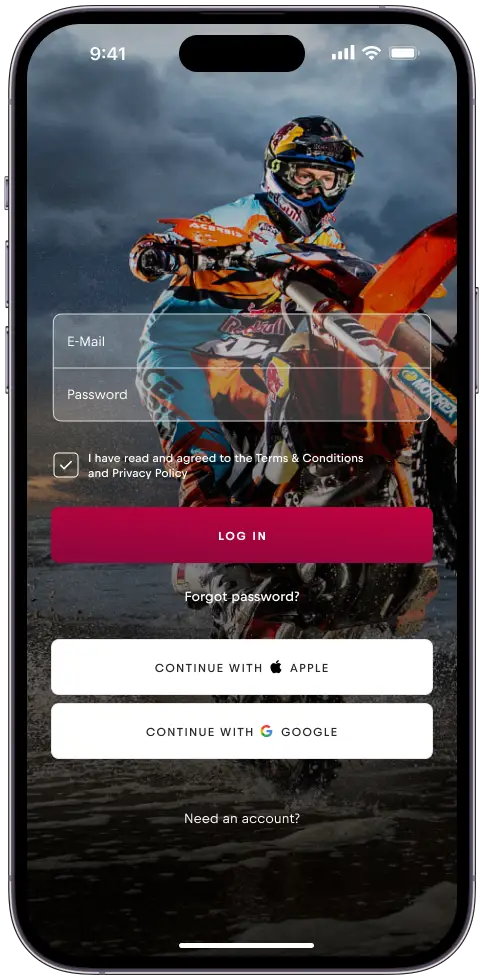
Step 3
Click “Need an account” if you want to register an account using your email
OR
Press “Continue with Apple/Google” for quick login
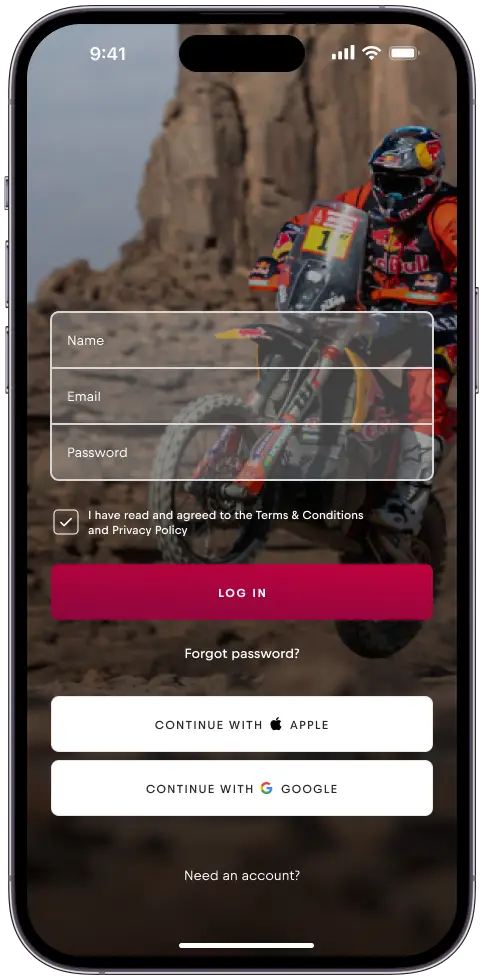
Step 4
Enter your name, e-mail and password
OR
Press “Continue with Apple/Google” for quick login
Proceed to step 10 if you used “Login with Apple/Google”; otherwise continue to Step 5.
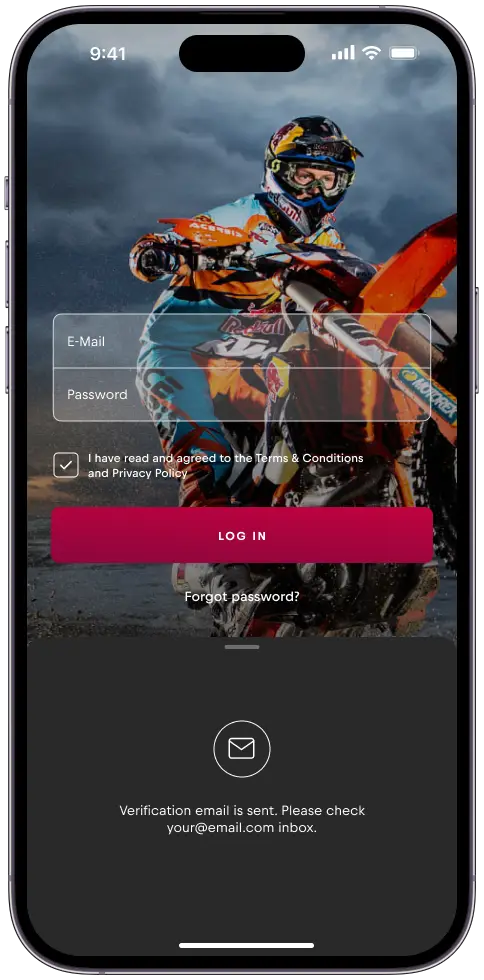
Step 5
Verification email was sent. Check your Inbox to verify your email.
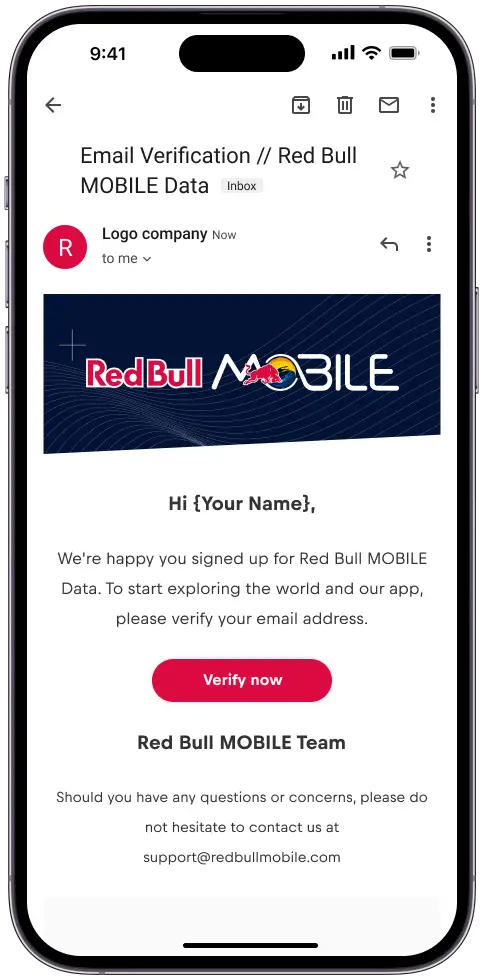
Step 6
Press “Verify now” in your email.
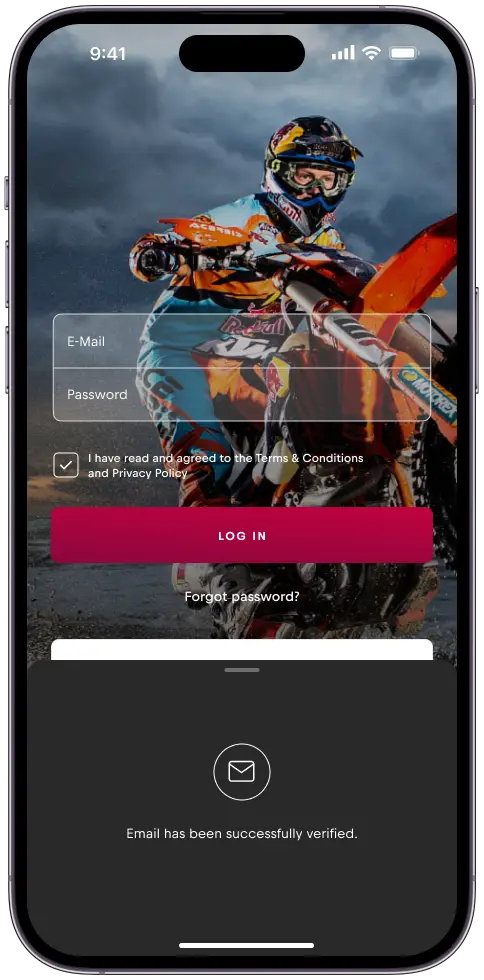
Step 7
Once you verified your email you will be redirected to the log in screen.
Step 8
Press “Need an account” if you want to register an account with your email
OR
Press “Continue with Apple/Google” for quick log in

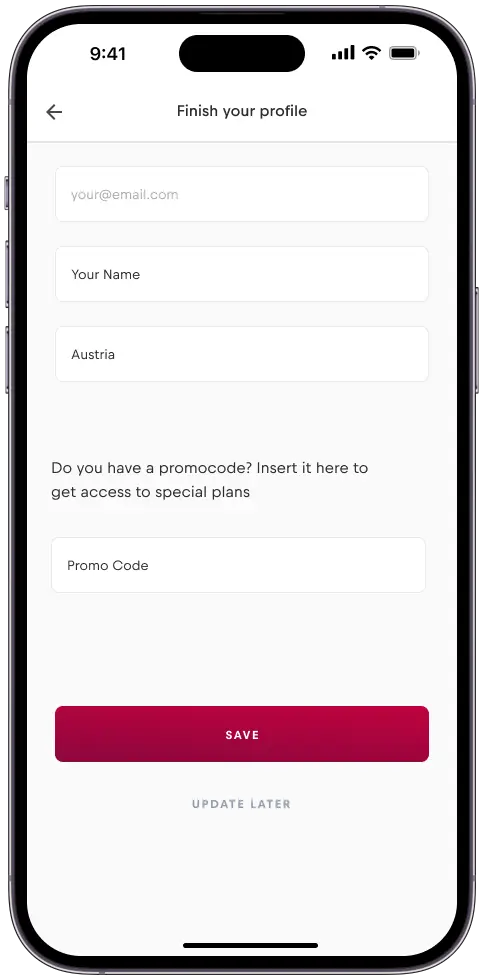
Step 9
If you have a Promo Code enter it during your first log in.
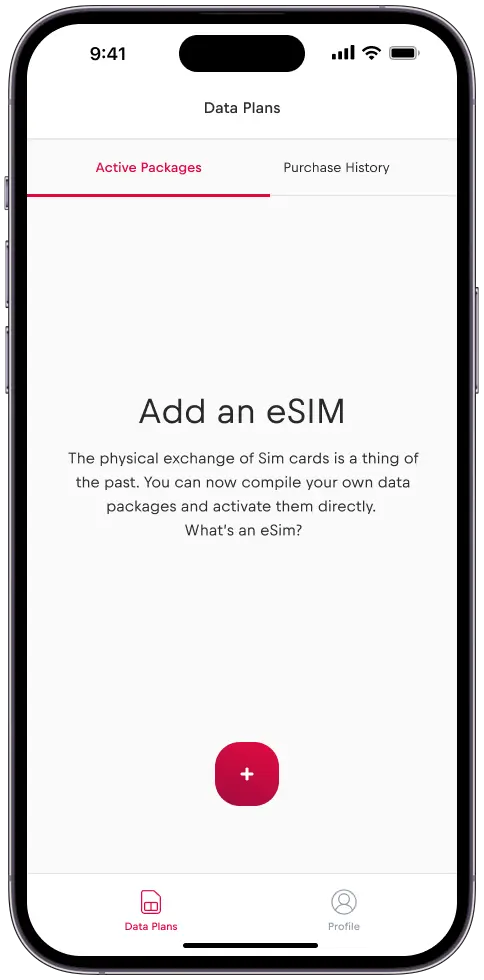
Step 10
Click “+” to add an eSIM
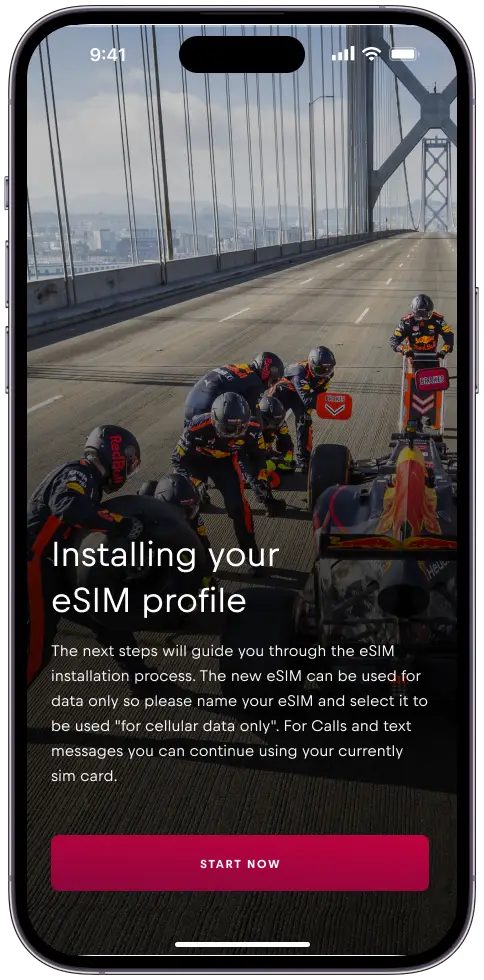
Step 11
Press “Start Now”
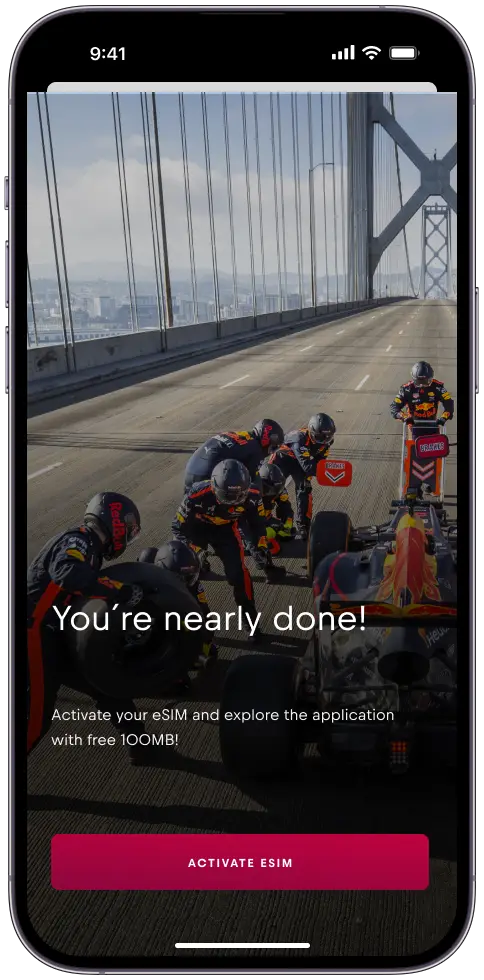
Step 12
Click “Activate eSIM”
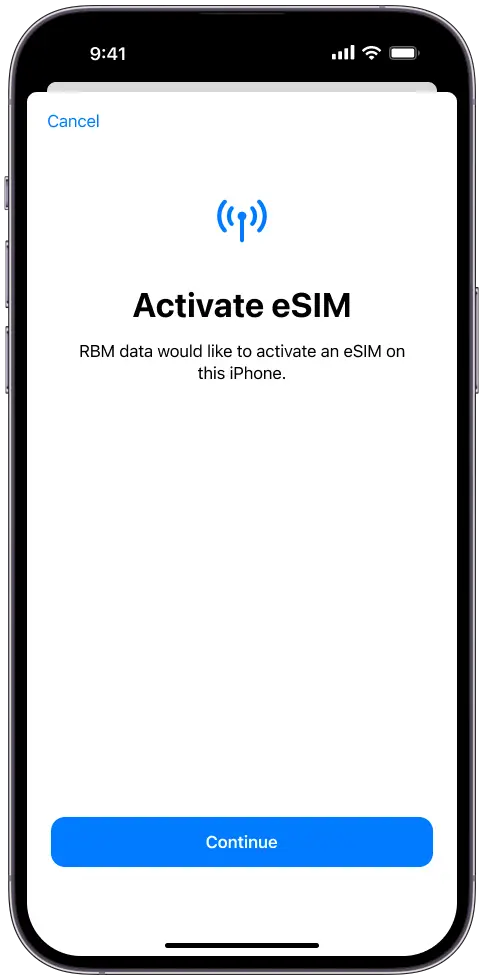
Step 13
Press “Continue” to activate the eSIM.
Step 14
Click “Done” to complete the set-up.

Step 15
Press “Continue”
Minimize the lower screen to get to the main screen.
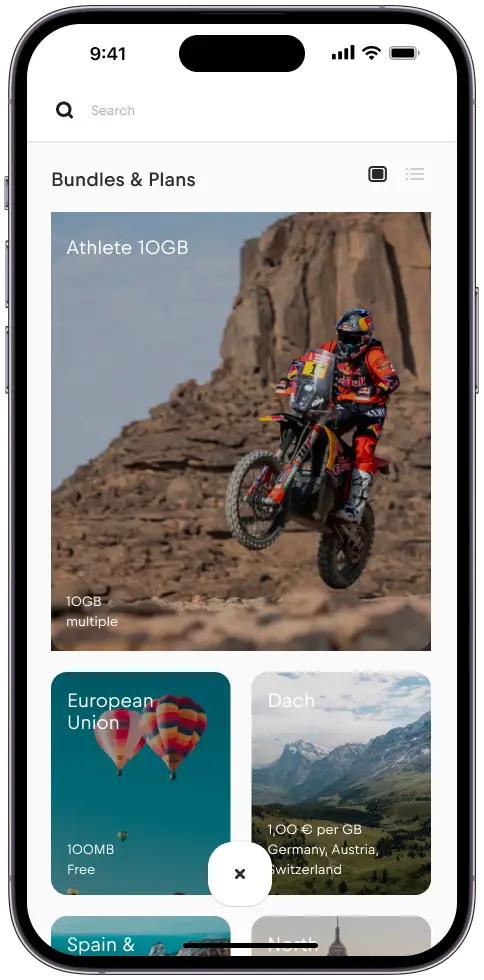
Step 16
Press the “+” sign to add a new plan.

Step 17
Choose your plan
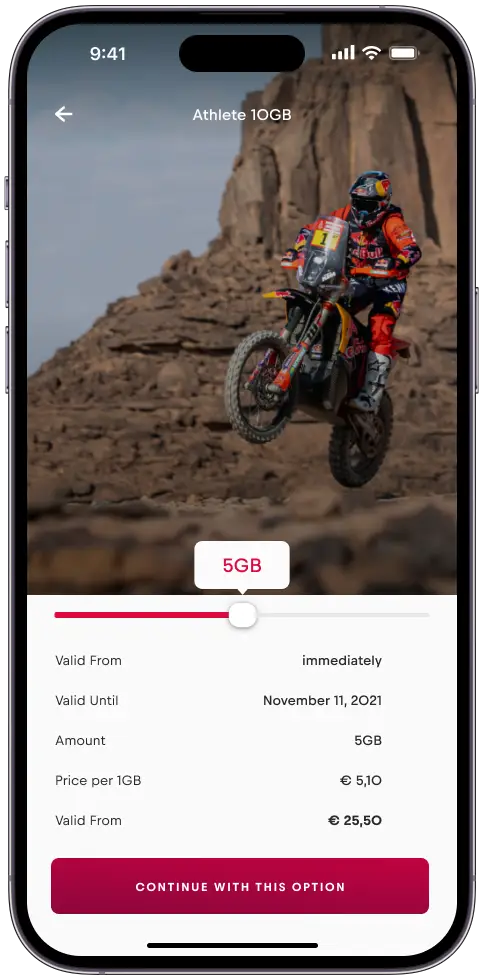
Step 18
Use the slider to select your data plan size and then click “Continue with this option”.
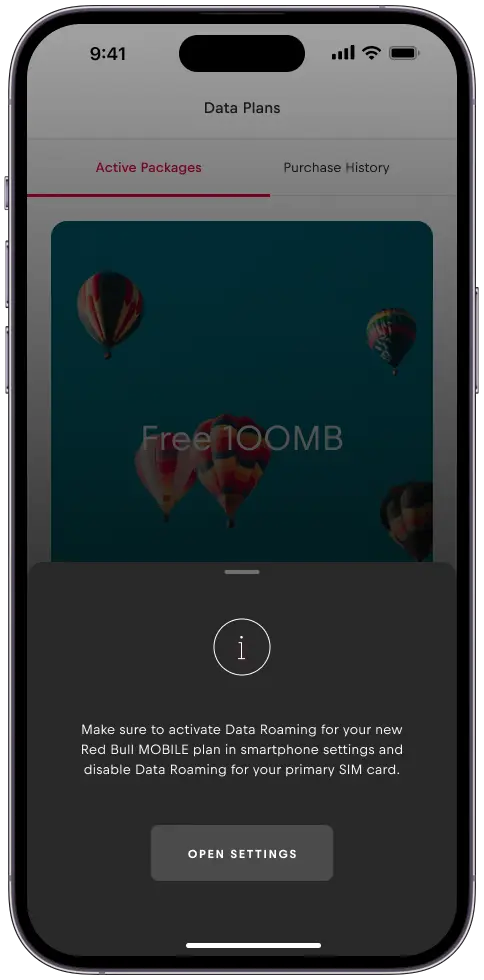
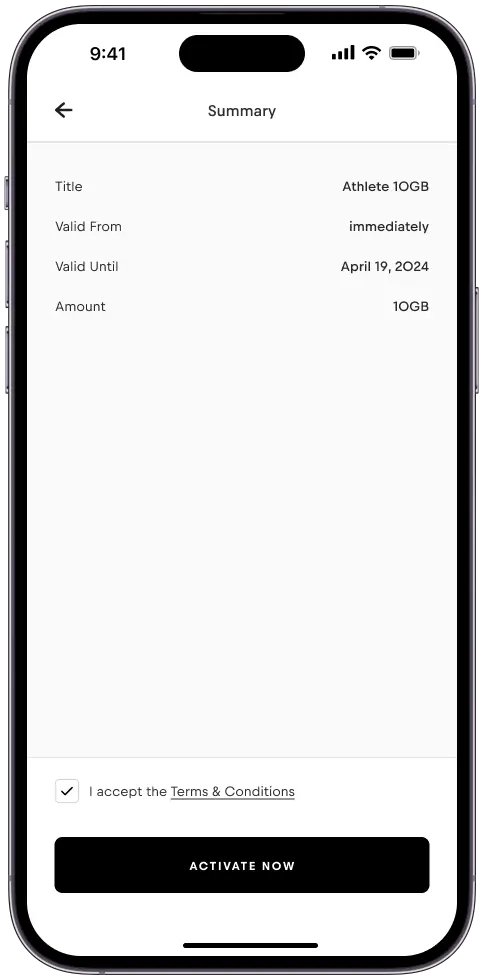
Step 19
Press “Activate now”
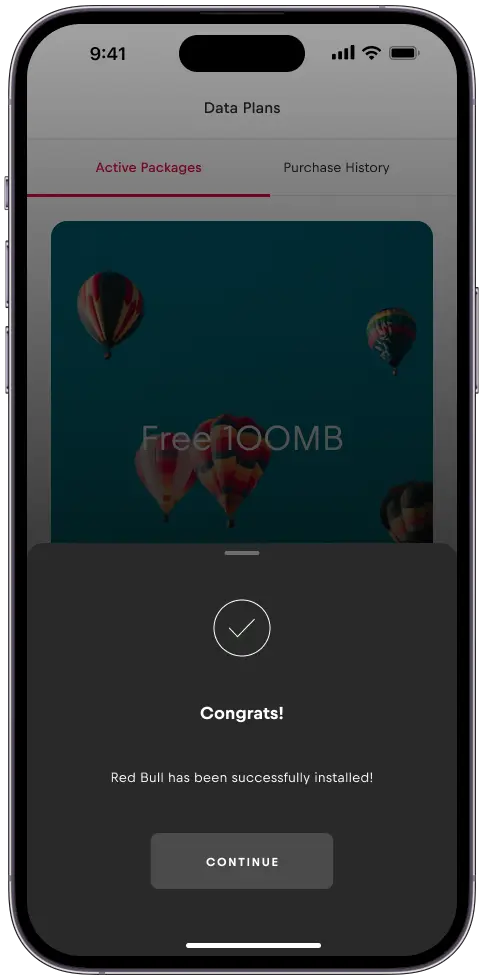
Step 20
Your plan was successfully installed.
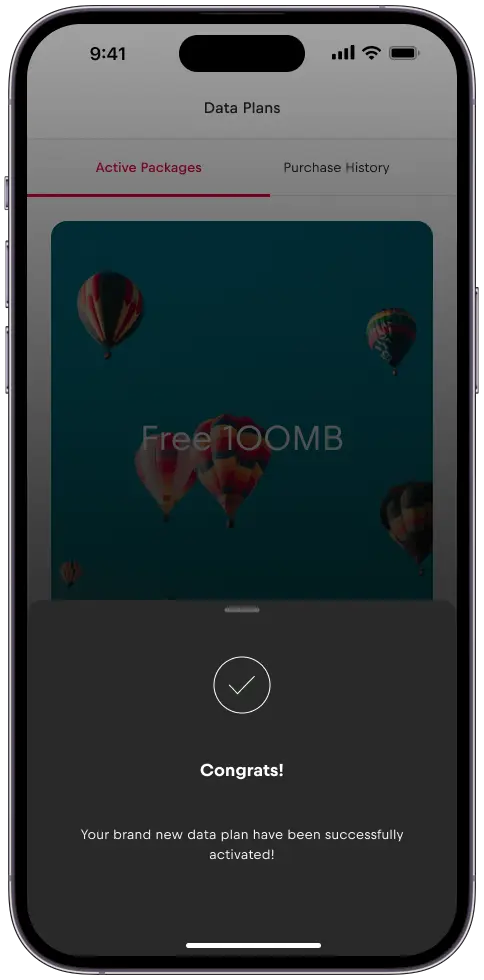
Step 21
Under “Data Plans” you will see all your active packages.
Your set-up is now complete.

